Have you ever found yourself needing to reach out to a device far away, perhaps a little sensor or a smart gadget, and wished there was a really safe, straightforward way to do it right from your Windows 10 computer? It's a pretty common wish, especially as more and more small, internet-connected things pop up in our lives, doing all sorts of interesting jobs. Getting to them, making sure they are doing what they should, or even giving them new instructions, all while keeping things private and sound, is something many folks think about. It's about having peace of mind, knowing your little gadgets are behaving themselves and nobody else is peeking in.
Sometimes, getting to these gadgets feels like a bit of a puzzle. You might worry about who else could be listening in, or if your connection is open to folks you don't want seeing your information. The idea of a direct link, just between your computer and that little device, without a lot of extra steps or middlemen, sounds pretty appealing, doesn't it? It's about having a straight line to your things, wherever they are, and knowing that line is private. You want to feel like you're talking directly to your device, as if it were sitting right next to you, even when it's miles away. That's a pretty big deal for keeping things under your control.
Well, there's a way to set up just such a direct, private chat, using some familiar tools like SSH and the idea of peer-to-peer links, all from your Windows 10 machine. We'll walk through how you can make these safe connections happen, making sure your remote internet-connected things are always within your reach, yet out of reach from prying eyes. It's really about making your digital world a bit more peaceful, giving you the ability to check in on your devices without a lot of fuss or worry. So, we'll look at how to securely connect remote IoT items, making the whole process simple.
- %D0%B4%D0%B6%D1%83%D0%BB%D0%B8%D0%B0%D0%BD %D0%BA%D0%BE%D1%80%D1%80%D0%B8 %D0%B1%D1%80%D0%BE%D0%B4%D1%83%D1%81
- Babe Paley
- Alexandra Censori
- Mick Thomson
- Jim Cummings Video Game Roles List
Table of Contents
- What is Peer-to-Peer (P2P) Secure Shell (SSH) for IoT?
- Why Consider P2P SSH for Remote IoT Connections?
- Getting Ready to Securely Connect Remote IoT Devices
- How Do You Securely Connect Remote IoT Devices with P2P SSH?
- What If You Can't Securely Connect Remote IoT Devices?
- Keeping Your Secure Remote IoT P2P SSH Setup Safe
What is Peer-to-Peer (P2P) Secure Shell (SSH) for IoT?
When we talk about "Peer-to-Peer," or P2P, for short, we're really talking about a way for two devices to chat directly with each other. Think of it like two people having a phone call, just between them, without anyone else listening in or a big central switchboard getting in the way. In the world of computers, it means your Windows 10 machine talks straight to your little IoT gadget, without needing a big server in the middle to pass messages back and forth. This can be pretty handy for keeping things simple and direct. It's a bit like having a private conversation line, which is rather useful for privacy.
Now, "Secure Shell," or SSH, is a way to make sure that direct chat is private and safe. It's like sending your messages through a secret tunnel, where everything is scrambled up so that if anyone else were to somehow peek inside, they wouldn't be able to make sense of what you're saying. SSH helps you control a distant computer or device, send files, or just check on things, all while keeping everything under wraps. It's a very reliable way to make sure your commands and information are only seen by the device you intend. You know, it's a bit like a secret handshake that only your computer and the IoT device understand.
When you put these two ideas together for "IoT," which stands for "Internet of Things" – those small, everyday items that connect to the internet, like smart thermostats, cameras, or little sensors – you get a really powerful way to securely connect remote IoT devices. It means your Windows 10 computer can have a direct, private, and scrambled conversation with your smart garden watering system, or your home weather station, or that little computer running your fish tank lights, no matter where it is. This direct approach helps avoid relying on outside services that might have their own rules or could, you know, go offline sometimes. It's about having that immediate, safe link to your gadgets, which is pretty neat.
- Jos%C3%A9 Eduardo Derbez
- Kaya Scodelario Birth Date
- Brandon Quintin Adams
- Meg Tilly
- Song Joong Ki Birth Date
Why Consider P2P SSH for Remote IoT Connections?
There are some really good reasons why you might want to use P2P SSH to securely connect remote IoT devices. For one, there's the big point of keeping things private. When you use SSH, all the information going back and forth between your Windows 10 computer and your IoT device is scrambled up. This means if someone were trying to snoop on your connection, they'd just see a jumble of letters and numbers, not your actual data or commands. It gives you a good feeling, knowing your information is staying just between you and your device. It’s actually a pretty solid way to keep your secrets secret.
Another big plus is the directness of the connection. With P2P, you're not usually relying on a big cloud service or a central server to relay your messages. This can mean your connection might feel a bit quicker, and you're less dependent on someone else's system staying up and running. It gives you more immediate control over your devices, which is quite nice. You're talking straight to the source, and that can cut down on delays or unexpected hiccups. So, in a way, it gives you a more personal line to your little gadgets.
Then there's the control factor. Because you're setting up this direct, secure link, you have a lot more say in how things work. You're not tied to a specific company's way of doing things or their particular software. This can be especially good if you're working with custom IoT setups or if you just prefer to have a bit more independence in how you manage your remote items. It’s about building your own digital bridge, one that you have the keys to. This means you can tailor how you securely connect remote IoT devices to fit your exact needs.
Lastly, it often comes down to privacy. In a world where so much data goes through so many different places, having a direct, private channel to your own devices is a real comfort. You're reducing the number of points where your information could be looked at or stored by others. This can be a very important consideration, especially if your IoT devices are handling sensitive information, like readings from a security camera or data about your home's energy use. It's about building a digital fence around your conversations, which is, you know, a pretty smart thing to do these days.
Getting Ready to Securely Connect Remote IoT Devices
Before we try to securely connect remote IoT things, it's a good idea to gather our tools and get our Windows 10 computer ready for the task. It's a bit like preparing for a trip; you want to make sure you have everything you need before you head out. This preparation helps make the whole process smoother and less likely to hit a snag. We'll look at the programs you'll want and how to get your computer set up just right. Basically, a little bit of planning now saves a lot of head-scratching later on, which is always a good thing.
Picking the Right Tools for Securely Connecting
To get started with securely connecting your remote IoT devices, you'll need a few programs on your Windows 10 computer. The good news is that Windows 10 often has the main tool you need already built-in, or it's very easy to add. This main tool is called the OpenSSH client. It's what lets your computer speak the SSH language. You can check if it's there by going to your Windows Settings, then picking "Apps," and then "Optional features." If you don't see "OpenSSH Client" listed, you can usually add it right there by clicking "Add a feature" and finding it in the list. It's a pretty straightforward process, actually.
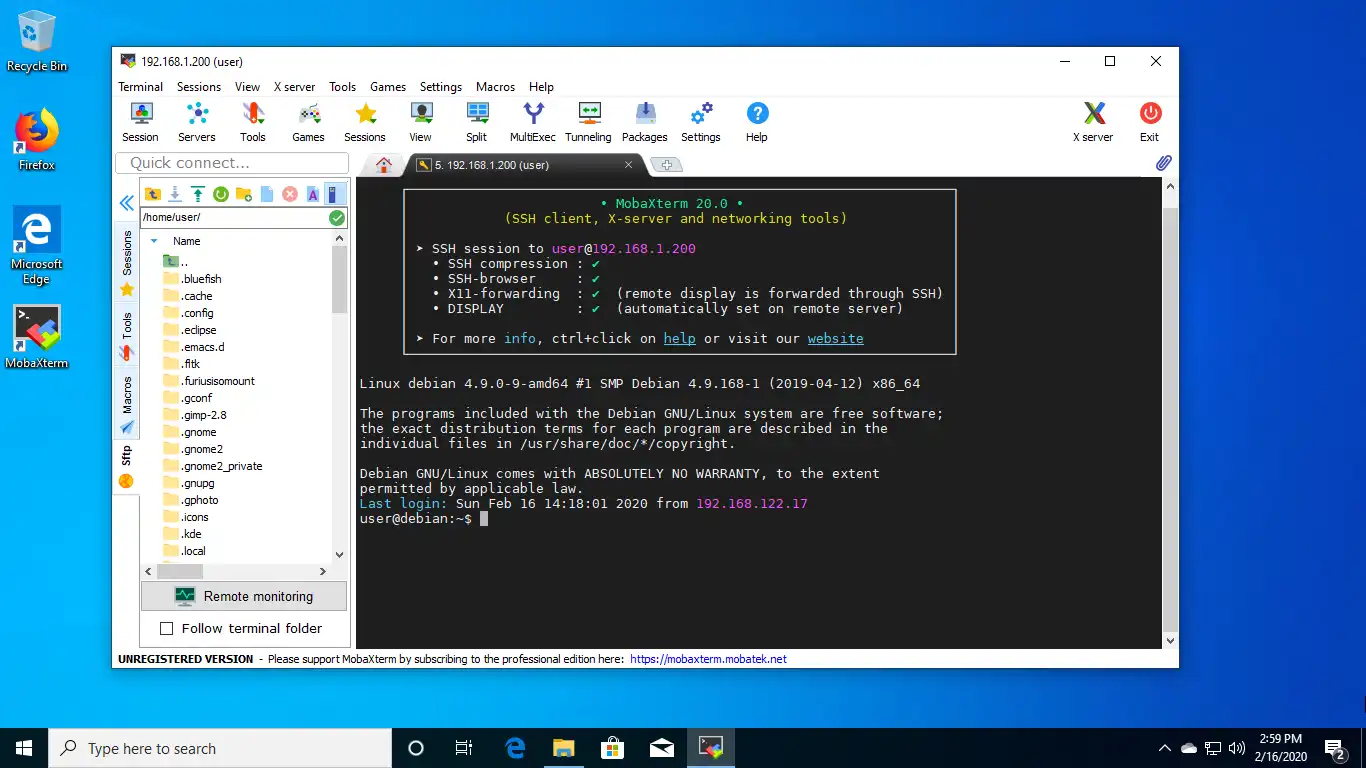
Beyond the OpenSSH client, you'll want a good place to type commands. Windows 10 has a couple of options that work well. There's PowerShell, which is a powerful command line tool, or the Command Prompt, which is a bit more traditional. Both of these will let you use the SSH commands we'll talk about. You can find them by typing "PowerShell" or "CMD" into the search bar next to your Start button. Some people also like to use a program called Windows Terminal, which lets you have many command windows open at once and can be customized a bit. Any of these will work fine for securely connecting. It's really about picking what feels most comfortable for you.
Finally, it's also helpful to have a simple text editor. This isn't strictly for the SSH connection itself, but it can come in handy if you need to look at or change certain files related to your SSH setup, especially on the IoT device side. Windows has Notepad, which is perfectly fine, or you might prefer something a bit more advanced like Notepad++ or Visual Studio Code if you do a lot of work with text files. The main idea is just to have something that lets you open and edit plain text without adding any extra hidden formatting. So, these are the main bits and pieces you'll want to have ready to help securely connect remote IoT items.
Setting Up Windows 10 for SSH Connections
Once you've made sure the OpenSSH client is on your Windows 10 computer, there isn't usually a whole lot more you need to do on the Windows side to get ready for securely connecting. The OpenSSH client is pretty much ready to go once it's installed. You won't typically need to mess with your computer's firewall settings for outgoing SSH connections, as Windows usually allows these by default. It's more about making sure your remote IoT device is set up to accept incoming SSH connections, which we'll get to later. But for your Windows machine, the heavy lifting is mostly done just by having the client installed.
You might want to get comfortable opening PowerShell or Command Prompt, as that's where you'll be typing the commands to make your SSH connections. You can pin these to your taskbar or Start menu for quick access if you plan to use them often. It’s just a little thing that can make your life a bit easier when you're trying to securely connect remote IoT gadgets. Knowing how to quickly get to your command line tool is a small but helpful step in your preparation. It’s like knowing where your car keys are before you plan to drive somewhere.
One small note, if you ever run into trouble connecting later on, it's worth a quick check of your Windows Firewall settings, but this is pretty rare for the client side. Usually, if there's a connection problem, it's on the side of the remote IoT device or with the network between them. But for now, just having the OpenSSH client ready and knowing how to open your command line tool is all you need to get your Windows 10 computer set up. This simple preparation really helps you move on to the next steps with more confidence, making it simpler to securely connect remote IoT things.
How Do You Securely Connect Remote IoT Devices with P2P SSH?
Once your Windows 10 computer is ready, the next big step is to actually make that secure connection to your remote IoT device. This involves a couple of key parts: making a special set of keys, kind of like a digital lock and key, and then putting one part of that key set onto your small device. It sounds a little bit involved, but it's really quite simple once you know the steps. We'll go through it bit by bit, so you can securely connect remote IoT items without much trouble. This method uses a pair of special digital codes to prove who you are, which is much safer than just using a password alone.
Generating SSH Keys for Secure IoT Access
The core of securely connecting with SSH is using what's called a public and private key pair. Think of it like this: you have a special lock (the public key) that you give to your remote IoT device, and you keep the only key that can open that lock (the private key) safe on your Windows 10 computer. When your computer wants to talk to the IoT device, it uses its private key to prove it's allowed to open the lock. The IoT device checks if your private key matches its public lock, and if it does, it lets you in. This way, you don't have to send a password over the internet, which could be seen by others. It's a very clever system, you know.
To make these keys, you'll open PowerShell or Command Prompt on your Windows 10 computer. You'll type a command like this: `ssh-keygen -t rsa -b 4096`. The `ssh-keygen` part tells your computer to make a key. `-t rsa` just says what kind of key to make, and `-b 4096` makes it a very strong, long key, which is good for security. When you hit Enter, it will ask you where to save the keys. The default location is usually fine, something like `C:\Users\YourUsername\.ssh\id_rsa`. It will also ask you for a "passphrase." This is like a password for your private key. It's a really good idea to set one, even if it's just a simple phrase you can remember, because it adds an extra layer of protection if someone ever got hold of your private key file. So, definitely consider using a passphrase to help securely connect remote IoT devices.
Once you've done that, you'll have two files created in that `.ssh` folder. One will be named something like `id_rsa` (this is your private key, keep it secret and safe!) and the other will be `id_rsa.pub` (this is your public key, the one you'll put on your IoT device). The private key should never leave your computer, and you should treat it like a very important secret. If someone gets your private key, they could pretend to be you and get into your IoT devices. So, keeping that file secure is a pretty big deal for maintaining a secure connection to your remote IoT items. It's sort of the master key to your digital lockbox.
Putting SSH Keys on Your Remote IoT Device
After you have your public and private key pair, the next step is to put the public key onto your remote IoT device. This is how the IoT device knows to trust your Windows 10 computer. The public key needs to go into a special file on the IoT device, usually found in a folder called `.ssh` within the user's home directory, and the file is named `authorized_keys`. This file lists all the public keys that are allowed to log into that device without a password. It's like a guest list for your IoT device, telling it who is welcome to securely connect. You know, it's a very specific place for this important piece of information.
There are a few ways to get the public key onto your IoT device. If your IoT device is already running an SSH server and you can log in with a password for the first time, the easiest way is often to use a command called `ssh-copy-id`. From your Windows 10 PowerShell or Command Prompt, you would type something like `ssh-copy-id username@ip_address_of_iot_device`. Replace `username` with the user on your IoT device (often `pi` for Raspberry Pi devices) and `ip_address_of_iot_device` with the actual network address of your device. This command will ask for the password for that user on the IoT device, and then it will automatically copy your public key to the correct spot and set the right permissions. It's a pretty handy tool for securely connecting.
If `ssh-copy-id` isn't available or doesn't work for some reason, you can do it manually. You'll need to copy the contents of your `id_rsa.pub` file (the public key file) from your Windows 10 computer. You can open it with Notepad and copy everything inside. Then, you'll need to log into your IoT device using whatever method you usually use (maybe a keyboard and screen directly, or an initial password-based SSH connection). Once logged in, you'll create the `.ssh` folder if it doesn't exist (`mkdir ~/.ssh`) and then create or edit the `authorized_keys` file inside it (`nano ~/.ssh/authorized_keys` or `vi ~/.ssh/authorized_keys`). You'll paste the public key into this file, making sure it's all on one line. It's very